THE BEST DAY TRIP TO MOUNT RAINIER FROM SEATTLE & WHAT YOU NEED

Mount Rainier National Park is the best day trip from Seattle, and this is your guide to making the most of that day
Written by Mark Dahl | updated May 20, 2025
Mount Rainier is one of the most stunning natural wonders in the Pacific Northwest, offering breathtaking views, scenic hikes, and a chance to escape the hustle and bustle of city life with just a short drive out of Seattle.
I’m a tour guide who has led hundreds of tours to Mount Rainier National Park, and in this article, I will provide you with everything you need to know to plan your perfect day trip.
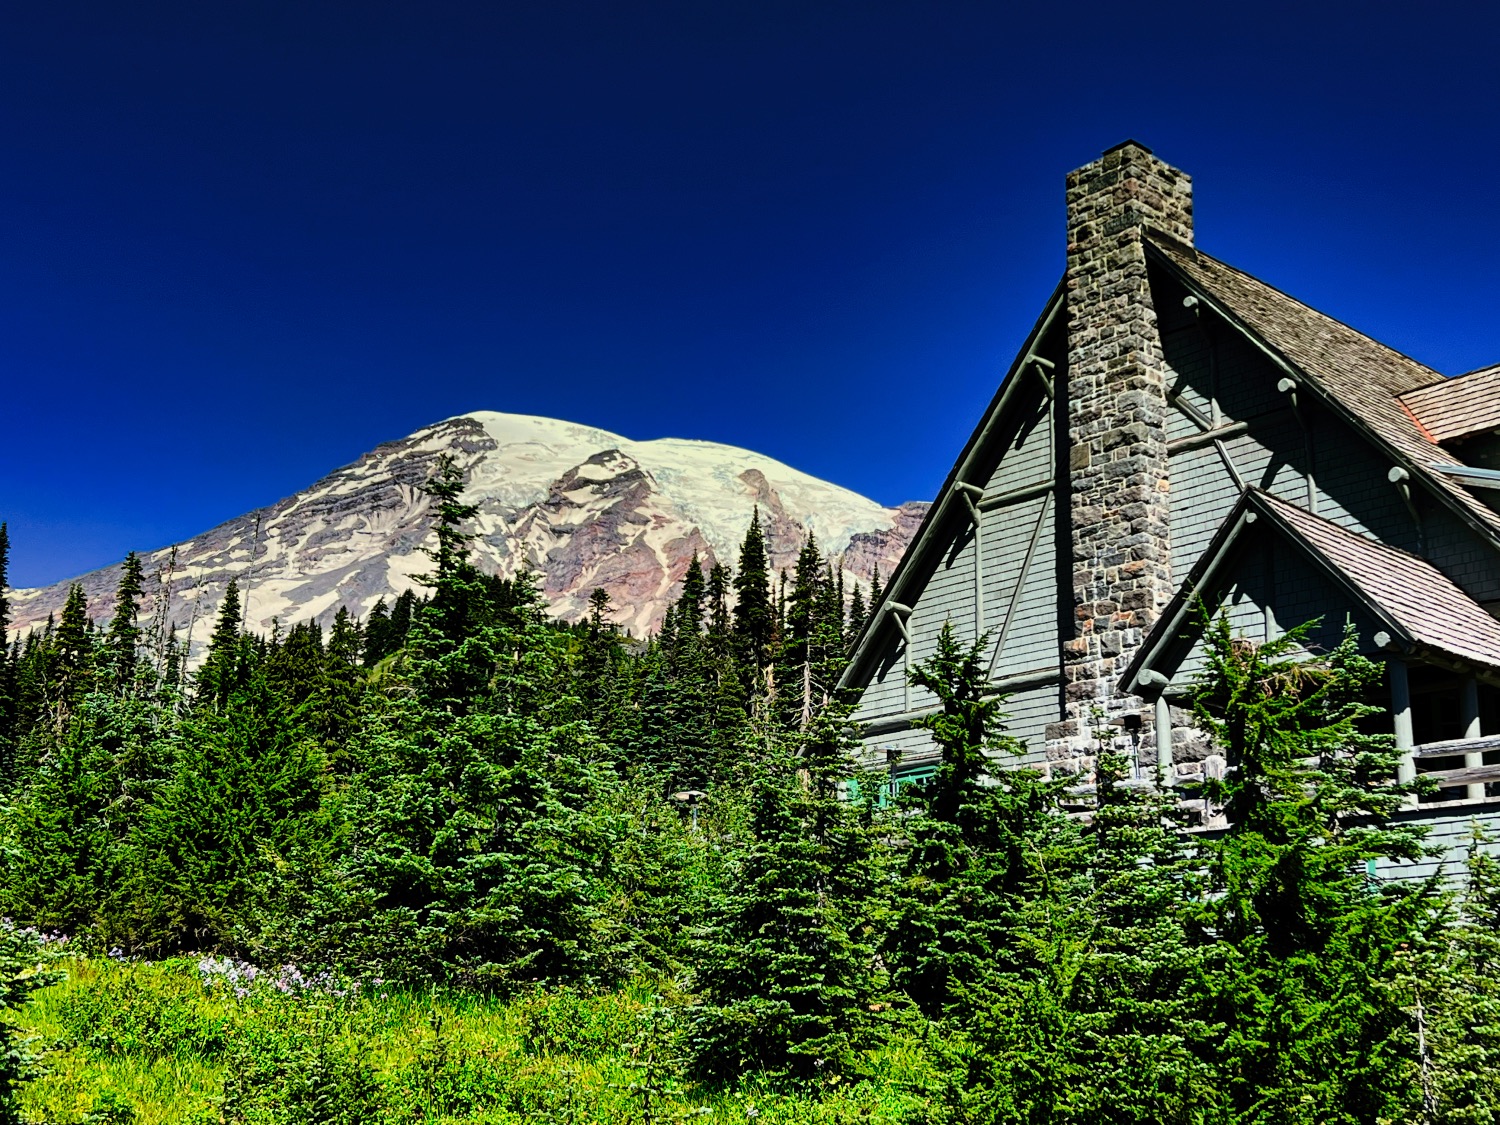
Paradise Inn with Mount Rainier
Step 1- Pick Which Area of the Park to Focus On
Despite its proximity to Seattle, it’s not feasible to try to see everything the park has to offer in a single day, so you’ll be better off focusing on the area you’re most interested in. After all, the park is 369 square miles and has 260 miles of maintained trails, so you know you’re going to have to make some choices.
However, sometimes the weather and time of year might choose for you – check out the NPS Website to see current road and trail closures, and read our seasonal travel guide for a better idea of what to expect during different times of the year.
There’s a pretty good chance you’ll choose to focus on Paradise, especially if it’s your first visit, since this is the most popular (and most developed) area of the park. The elevation here is 5400 feet, so be prepared for snow most of the year (640 inches annually, on average). This means the trails might not be accessible without snowshoes unless you’re going between mid-summer and early fall, so if you’re planning a trip during any other seasons check out the conditions ahead of time and consider trails at lower elevations.
Assuming the entire park is accessible, you’ll have to decide between seeing as much of the park as possible stopping for viewpoints and short hikes (this is the strategy that we use on our Mount Rainier tours), or focusing on one area where you can take some longer hikes.

Reflection Lakes, Mount Rainier National Park
Step 2 – Plan How to Get There
You really only have two options here – driving or joining an organized tour like ours (shameless self-promotion alert). This is due to the fact that public transit options are non-existent
Although it’s hard to beat the variety of sights you can take in with an expert guide who knows where everything is, what’s open, and the best times to avoid crowds, I’ll be the first to admit that if you want to spend the whole day hiking, you’re probably better off driving yourself since we design our tours to accommodate the widest range of people possible.
If you decide to go on your own, be sure to make reservations which are now required.
One final option (for those in far better shape than me) would be to ride your bike (reservations are only required for vehicles). I see cyclists on the steep roads of the park all the time, feeling vicarious exhaustion just watching them. Clearly, this is not an option for the faint of heart, but I figured it was worth mentioning.

Bridge over the Ohanapecosh River, Mount Rainier National Park
Step 3 – Create an Itinerary
I know, I know… an itinerary sounds like it would ruin your fun, spontaneous day in the mountains. However, if you don’t want to spend your day sitting in traffic or realize you’re miles from the trailhead as night is falling, planning your day is well worth whatever spontaneity might be lost.
If you’re planning a summer visit, prepare for crowds – Mount Rainier National Park had 2,477,816 visitors last year, and most of them came during July and August. For this reason, I recommend getting a very early start (our Mt. Rainier tours try to leave Seattle by 7 am), avoiding weekends if possible, and checking the Twitter feed or Google Business Profile before venturing out (they will usually post when the line to get in is particularly bad).
You can also consider approaching from a different entrance. During the summer months, the roads are usually all open – this means you can enter from the Stevens Canyon gate (usually far less busy) and leave through the Nisqually gate (waving smugly at the miles-long line of cars waiting to get in).
If you want to do some more ambitious hiking (longer than a mile), you should plan which trail (or trails) you want to tackle ahead of time using sites like AllTrails or Washington Trails Association – both of these sites have crowd-sourced information about current trail conditions as well as information about trail length, difficulty, and estimated time to complete.
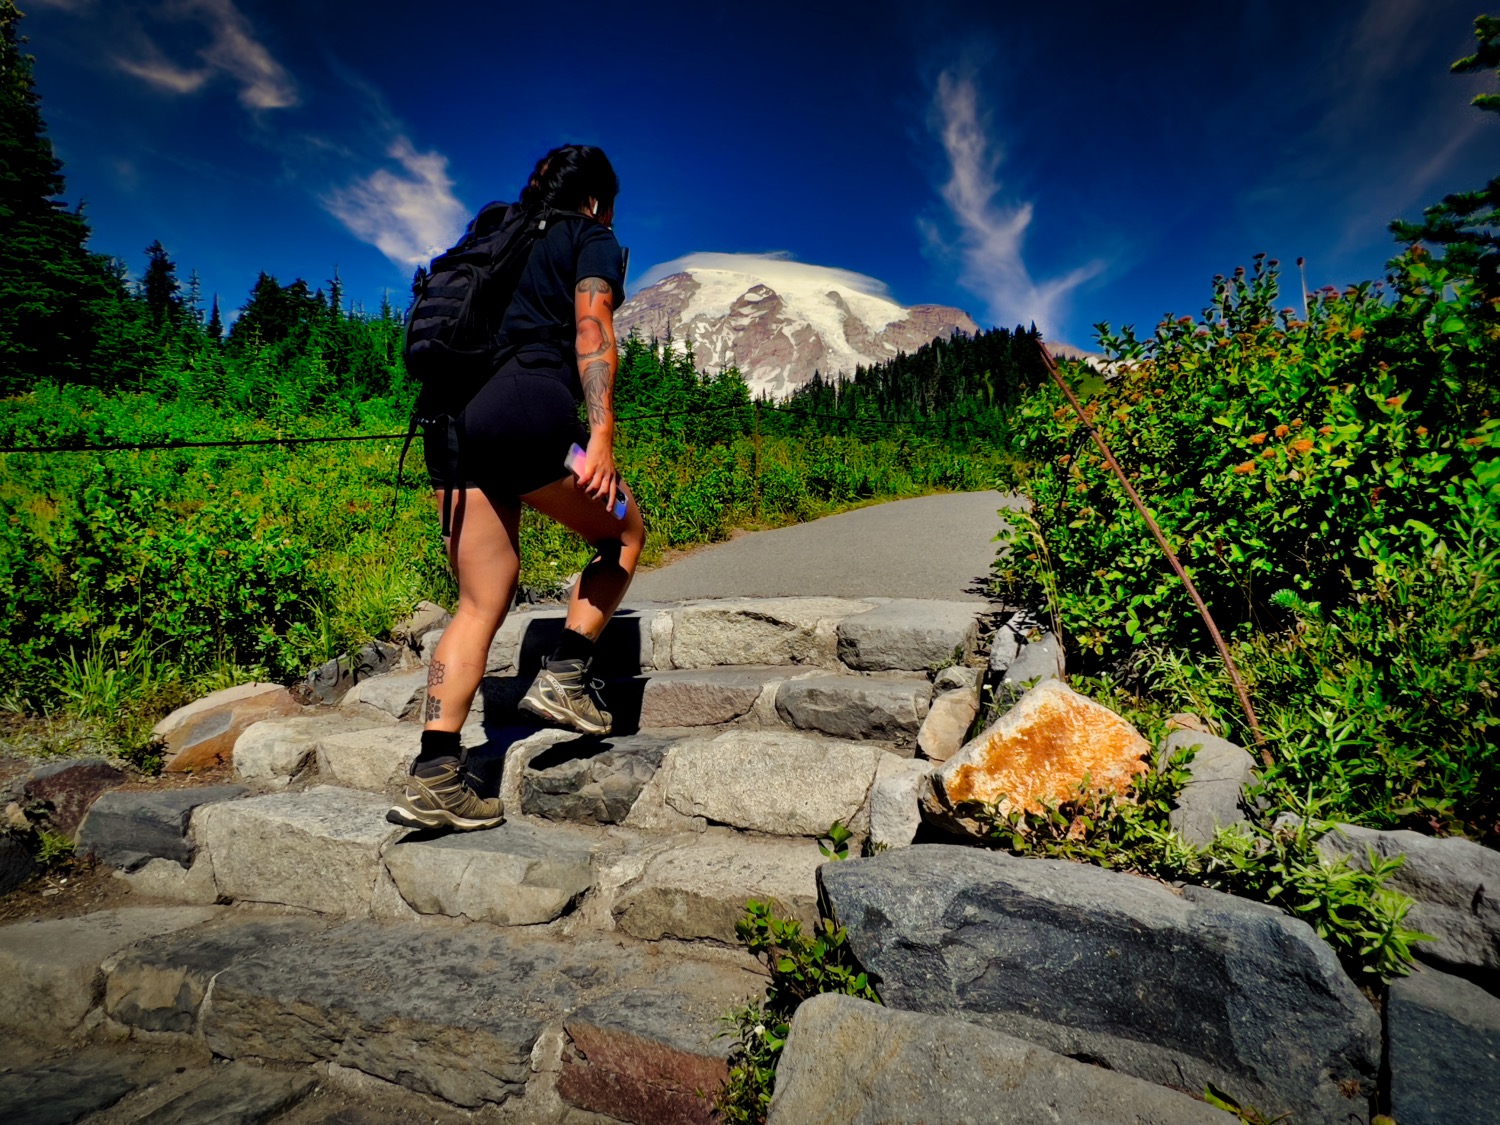
Hiking the Skyline Trail, Paradise, Mount Rainier National Park
Step 4 – Pack Food and Supplies
What should I pack for a Mount Rainier day trip from Seattle?
We recommend bringing layered clothing, waterproof hiking boots for traction, sunblock (snow reflects UV), and a picnic. Food options inside the park are extremely limited and often overpriced. Refer to the sections below for an idea of what conditions will be like during each season.
Although there are a few options for buying your provisions within the boundaries of Mount Rainier National Park, the food options are extremely limited (not to mention overpriced). I recommend packing a picnic of some sort.
In terms of other supplies, I always recommend dressing for comfort, especially when it comes to footwear – waterproof hiking boots are ideal, especially during the rainy/snowy season, which means pretty much any time other than July and August. If you don’t have waterproof hiking boots, go with the most comfortable shoes you have, preferably with good traction.
Dressing in layers is also a great strategy, since the weather can be unpredictable.
Another recommended supply you might not think about is sunblock – the mountain can be surprisingly sunny, especially while there’s still snow on the ground, and reflection from the snow makes sunburns all the likelier.

Nisqually River and Mount Rainier
Step 5 – Enjoy Your Mount Rainier Day Trip
This is when all of your planning pays off – Mount Rainier is one of the most spectacular sights in the world, and even if you’ve become habituated to seeing it from Seattle, the up close and personal view from within the national park is still breathtaking.
Considering the rainy climate that we’re so known for Pacific Northwest, however, there are many days you can be on the mountain but unable to actually see the mountain (check the webcams set up by the National Park Service to see if you’ll have a view). Even without a view, though, the park is still amazing and you’ll have a great time exploring the old-growth forests, rivers, and waterfalls.
If you would rather not have to do your own planning (or driving, for that matter), we would love for you to join one of our Mount Rainier Tours from Seattle.
Prefer a Private Experience? Try Our 10-Hour Private Tour
If you want the freedom to customize your experience while still enjoying the convenience of a guided tour, check out our Private Mount Rainier Tour.
- Duration: 10 hours, year-round availability
- Private vehicle: Ride in a comfortable Chevrolet Suburban LTZ
- No permit or timed entry required
- Hiking optional – enjoy as much or as little activity as you like
- Snowshoes available for free in winter
Customize your itinerary with your guide: visit Paradise or Sunrise Visitor Centers (depending on road conditions), stop at Christine Falls, Lake Tipsoo, or Reflection Lake, and enjoy a scenic drive through mountain towns like Elbe and Ashford.
This tour offers a relaxed, flexible way to experience Mount Rainier with hotel pickup, a private guide, and beautiful views every step of the way.
Perfect for families, photographers, or anyone looking for a more intimate experience.
Whatever method you choose for making a Mount Rainier day trip, you will certainly have a great time!
Frequently Asked Questions
- How long does it take to drive from Seattle to Mount Rainier National Park?
- The drive time from Seattle to the most popular entrance, Paradise, is approximately 2.5 to 3 hours without traffic. However, weekend traffic and seasonal road work can significantly increase this time, especially during peak summer months, making an early departure essential for a successful day trip.
- Do I need a timed entry reservation to visit Mount Rainier National Park?
- Yes, during peak season (typically late May through early September), Mount Rainier National Park often requires a Timed Entry Reservation to access certain areas of the park during specific hours, in addition to the standard entrance fee. Visitors should check the official NPS website for the current year’s requirements and book well in advance.
- What are the must-see areas of Mount Rainier for a single day trip?
- For a classic day trip, focus on the Paradise area (for stunning mountain views, the Jackson Visitor Center, and easy meadow trails like Skyline Trail) or the Sunrise area (the highest point reachable by car). Paradise is generally more accessible and popular for first-time visitors, while Sunrise offers a more remote experience.